Showing posts with label crafts. Show all posts

Friday, May 24, 2013

Silhouette Cameo: 10 Money Saving Tips

As many of you know, Mr. Modern Typography bought me a Silhouette Cameo for Christmas. 
Best. Gift. Ever. Now that I've cut 8 million tags on it (slight exaggeration) I feel qualified to throw some money saving tips out there.

Let's do it!


1. Don't buy the Designer Edition software.
You won't need it. Everything you need comes with the machine. Surprisingly, the program is easy to use but is also capable of most of the tasks I use in Adobe Illustrator or Photoshop. Boom, I just saved you $50 dollars.

2. Do buy extras.
Chances are your machine came with an extra mat and blade. I find having 3 or 4 mats helpful when cutting large quantities of the same thing. I prep the extras with the paper I'm going to cut next. This saves me a lot of time, and time is money for me. 

The reason you'll need extra blades is that they dull over time. Buy these before you need them so you don't have to pay added shipping charges. By the way, I cannot find a place to buy these items locally, chances are you will also be forced to buy everything online. I prefer Amazon because I have Prime, shipping is quick and I can find everything in one place. Buy mats here, blades here. 

3. Buy yourself some Krylon Easy-Tack.
Why? Because the mats don't last forever, which anyone who has had these awhile knows. Instead of constantly spending $15 on a new cutting mat, you can spray the ones you have with Easy-Tack and get the same results. It's $7.59 at Hobby Lobby, but you can use a coupon on it. You'll get multiple uses out of the can, saving tons of money. I'd say I sprayed about 5 mats 10 times. By the way, I am STILL using the original mat that came with the Silhouette. Buy it online here.

4. Move your paper, shapes or mat between cuts.
The reason the mats don't last forever is the adhesive that holds your paper in place loses it sticky. It's even worse if you cut in the same spot over and over. 1 Easy way to do this is to change the orientation of the paper (landscape/portrait) in the program. OR you can move the shapes in the program before each cut. If you are worried about cutting outside the paper, use registration marks. This is my favorite Silhouette feature. If you haven't learned how to use this yet, you should! Last, you can turn the mat 180 degrees and get more use out of your mats.

Update: The latest Silhouette software and machinery makes it more difficult to do this because it won't easily detect mats unless they are in the right spot on the mat. You can still do this with manual registration, and still turn the mat 180 degrees. 

5. Avoid the double cut.
This will save both your mats and your blades. The only shapes I've had to use double cut on are my really intricate feathers and headbands for my Thanksgiving headdresses  There is some trial and error here, but I'd rather save my blade which costs $11 than a piece of paper that costs me 4 cents.

6. Buy this squeegee, not this scraper or spatula or the pick me up tool.
To take your cut items off the mat, simply bend the mat and the items will pop off.
They stick a little more when the mats are new or right after you spray Easy-Tack, but after that it's super easy to pull things off. I use the squeegee to scrape off any remaining paper, such a tiny circles from holes. Why pay $10-20 dollars for name brand tools when you can pick up a squeegee for a couple bucks at a hardware store or sign shop. I like the roller squeegee because I smooth items onto my mat with the roller side, and pop off small pieces with the scraper side.

7. Switch out your blades for different types of papers.
The same is true for hand held paper punches. When you cut a thicker paper, your blade dulls more. I keep one blade set on 3 and one on 7. I find all paper works with one or the other and switching blades is easy. My very first blade wore out quick. 

8. Clean out your blade when it seems dull.
It's easier than you think. You just set your blade to zero. Then twist that little white cap off the end, just below the red line (lefty loosy). Clean out of the goop and paper shreds and give the blade another whirl. 

9. Buy through Amazon.
If you haven't noticed already I don't buy anything straight from Silhouette. Its way more expensive. AND I have Amazon prime, so everything ships for free. This is a huge savings for me, and I get everything in 2 days!

10. Design your own shapes.
When we first got the machine, I was concerned about the price of buying additional shapes. I was also concerned about using purchased shapes in my business, did you know you need a commercial license to use them? I decided to design all of my own shapes. It's so much easier than it sounds. Once you see how it's done, you'll realize why the machine is called a silhouette ;)

Here are a couple tutorials on converting images to cutable shapes on the Silhouette.

 Hope you found these tips helpful! I'd love to hear if you have any of your own!

This post contains affiliate links for Amazon, however, my opinions and shopping choices are solely my own. If I don't love it, I don't recommend it! Amazon Prime is my favorite way to shop Silhouette supplies.

Thursday, December 6, 2012

DIY Snowglobes: Upcycled Jars

While I'm not sure I'll ever be able to give up shopping, I love giving handmade gifts at Christmas.
For years I've been making photo calendars, and since Eleanor was little I've been making ornaments.
In addition to these favorites, this year the kids and I are making snowglobes.


Thanks to my Mom and our baby who wants nothing to do with baby food I had an assortment of fun jars to work with. You really don't need much for this project. Here's the list:

1. Empty jars
We used pasta sauce, soup, hot pepper, olive, and baby food jars.
Here's a link to a cute snowglobe done with jelly jars.

2. Fake snow
I bought a huge bag at Michaels that will probably last me a lifetime.
Didn't seem huge at the time but you don't need much.


3. Bottle Brush Trees
My favorites ended up being dollhouse size trees from Hobby Lobby and miniature trees from Michaels. I had purchased a huge bag of assorted tree sizes but none of them really fit the jars I used.

4. Tiny reindeer or other figurines
We used dollhouse sized reindeer from Hobby Lobby, too.


5. Cotton balls

6. A hot glue gun and glue

Optional: acrylic paint, glitter, tiny snowflake paper punch, empty spools/bobbins.

After you've gathered all the thingsyou need, you'll want to prepare the jars.
I just ran mine through the dishwasher with a load. We decided to paint the jar lids.
This step can easily be skipped, especially if your jar lids don't have words on them. But the kids enjoyed doing it.


Next, glue your trees and figurines to the inside of the jar lid. As you can see we actually glued our trees and reindeer onto spools prior to gluing them to the lids so they'd be higher up and more visible. This also allows you to use more snow.


Next you'll want to cover any areas you don't want seen with cotton. Make sure to glue it down or it will go flying. Also be sure your jar will fit over your creation and you can see everything in the jar before going to the next step.


Next add snow, glitter, and tiny snowflake paper punches to the jar. You won't need much, just enough to cover the very bottom of your little scene.


We made a few inside plastic ornaments to see how that woud turn out too.


Didn't these turn out adorable? Isn't Henry Adorable?!

Friday, November 16, 2012

Countdown to Christmas: 25 Small Gift Ideas

This change in the weather was the last kick I needed to get moving on my holiday planning. I've listed the last of the Christmas items in my shop:
Set of 25 advent bags


With each set I'll be including this list of ideas for filling them. These are appropriate for children of all ages, 3 to 103 :) (Sorry baby George, no small parts for children under 3)

Since I'm a thrifty kind of gal, you'll find many items on this list can be handmade. I've included a link to tutorials for such. I've also taken into account the size and weight. These would also makes great stocking stuffers, too!

(In photo, top to bottom, left to right)

1. Tooth brushes 
Dollar Tree

2. Scissors
$1.39 at Target

3. Stickers 

4. Handmade mini notebooks
These were made from old book pages. Here's a link to a tutorial similar to my method. I finished the edges with washi tape.


5. Candy Cane Pens
49 cents at Michaels

6. Magic Washclothes
Dollar Tree

7. Modeling Clay
On sale at Michaels, $1.25 each

8. Handmade Jewelry and Accessories
I made these ladybug rings with scrapbooking brads, ring backs and E-6000.

9. Hand Tattoos
Dollar bins at Michaels

(Not Shown)

10. Mini Chalkboard & Chalk
Here's a tutorial for a mini chalkboard. You can use chalkboard vinyl if you don't want to paint.

ChalkboardClipMaterials

11. Washi Tape
Michaels has a good assortment, always on sale.

12. Old coins or a$2 bill
Ask for these at the bank, they always have something in their register. I'm putting mine in handmade envelopes, follow the tutorial here.

13. Pinback buttons

14. Pipe cleaners
Here's a link to fun pipe cleaner crafts.

15. Finger puppets

16. Popper fireworks or sparklers
Usually Target sells these for New Years right before Christmas.

17. Popcorn Garland Kit
I'm using a bag of microwave popcorn and red & white baker's twine. For younger children use Froot Loops. This blog has some great examples, as well as other crafty Christmas ideas.


18. A Kazoo

19. Flashilght
Harbor Freight Gives these away.

20. Silly Putty
$1 at Michaels. They even have glow-in-the-dark now!

21. Crazy Straws
My kids never tire of finding new ways to drink the same thing.

22. A Sewing Kit & Fabric Scraps
I'm not going to lie, I wish I was getting these things. Need scraps? Buy these!

Confetti Scraps -- Happy and Colorful Fabric Bits


23. Magnet Strips
These will keep a crafty or curious kid occupied for hours.

24. Handmade Ornaments
I just bought some clear plastic ornaments, tiny pine trees and fake snow to make "snow globe" ornaments. I'm going to try the same thing with baby food jars. Photos to come!

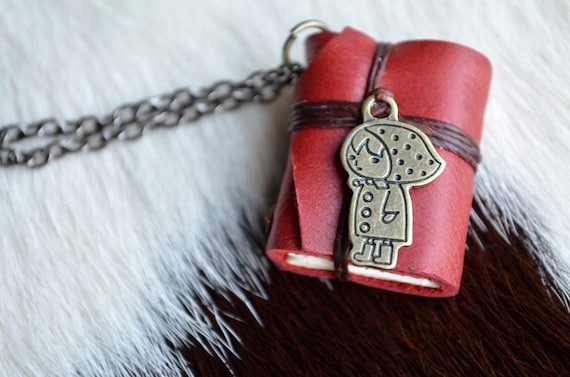
25. Leather notebook necklace
Because I think the grand finally ought to be awesome. This is from fullmoonn, and the price is ridiculously cheap for what it is.

MiniatureBook Necklace Little Red Riding Hood


Hope you find this list helpful!
Don't forget to purchase your gift bags now
to get them in time for December 1st!

Wednesday, August 22, 2012

A Spooky Giveaway: Ultimate Halloween Magazine from Taste of Home and More!

Are you ready for a SPOOKY giveaway?
Don't be scared!

It's just the Taste of Home Magazine Special Edition
"Ultimate Halloween" Magazine!

This magazine is already in stores if you just can't wait...
August 14-November 6, 2012.


I just got my copy in the mail, along with one lucky winners copy
and I just know somebody out there is going to be as thrilled as I am!

This is one SERIOUS magazine.
In this edition you'll find Fun & Games, Ghoulish Grub, Boo-rific Beverages,
Ghostly Getups, & House Haunters.

Catherine Cassidy, Editor-in-Chief, was kind enough to send these along.
This is my second interaction with the folks over at Taste of Home.
They are just the sweetest!

I've noticed multiple times throughout this edition
Taste of Home sends readers to Etsy shops for other great ideas.
Isn't that grand?

In the spirit of generosity,
I'm also giving away a $10 gift card to my store,

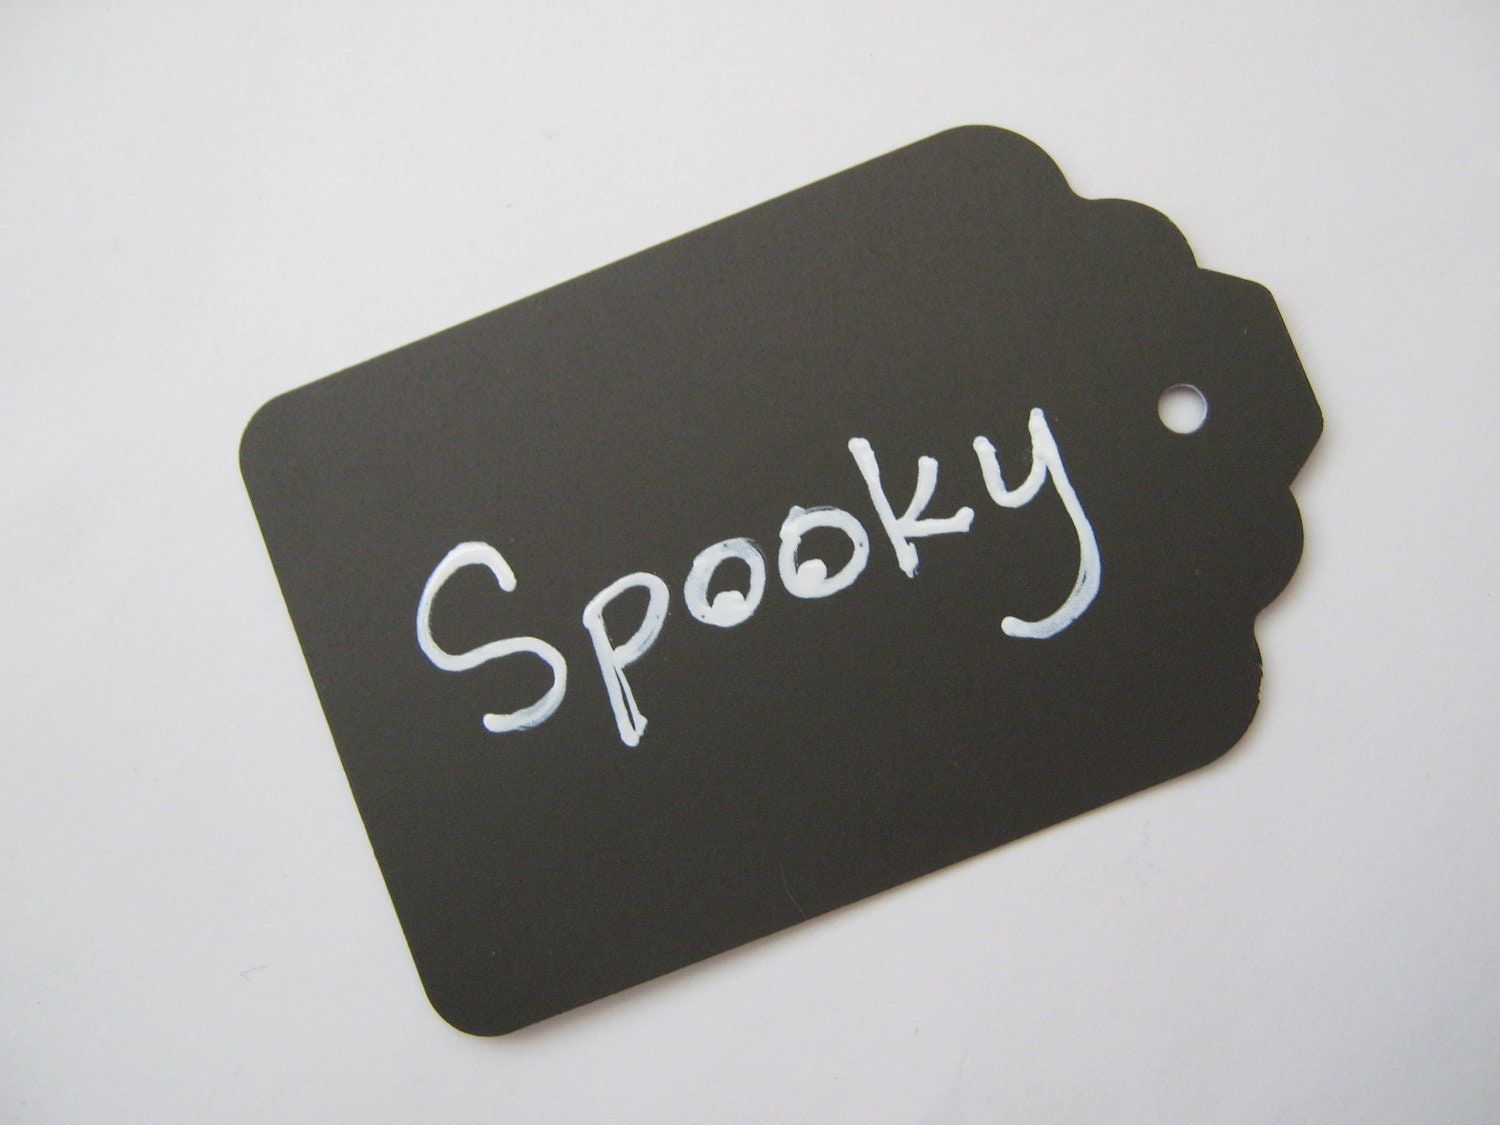
Chalkboard Embellishment Die Cut Tag Labels for Gifts, Scrapbooking, or Paper Crafts - Set of 12 Black Tags - Reusable
Buy it here
I can't wait to hear about what ya'll plan to do with both!

The rules are simple: 

1. Follow the blog and leave me a comment below 
with your email and/or Etsy contact information

2. Tell me what you plan to do with this magazine 
and your gift certificate to Modern Typography.

After you've done the 2, you're eligible to receive a bonus entry for each of the following:

3. Like me on Facebook
4. Follow me on Pinterest
5. Heart My Etsy Shop
6. Heart and item from My Esty Shop

Please leave a seperate comment for each bonus entry, thanks!

Contest is open worldwide to everyone 18 years of age and older.
Ends August 31st at midnight.
Winner will be chosen via random.org and announced here.
I will notify the winner via email and Etsy (if provided)
and the winner will have 3 days to respond before another winner is chosen.

Good luck my spooktacular friends!